Activating the ARR Analysis Excel Add-in
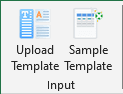
After installing the ARR Analysis Excel Add-in, you should see a new ARR Analysis tab in the Excel ribbon:

At this point, the add-in is not activated. All buttons to the left of the License button will be disabled, and the License button itself will display the Inactive icon.
To activate the add-in, follow these steps:
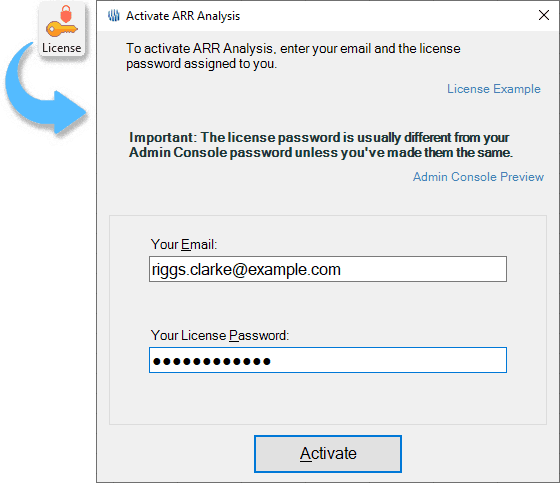
Step 1: Open the Activation Dialog
Click the License button in the ARR Analysis ribbon section. This opens the Activate ARR Analysis dialog.
Here, you need to enter:
- Your email
- The password for the license assigned to you
Note: The license password may be different from your Admin Console password unless you decide to make them the same.
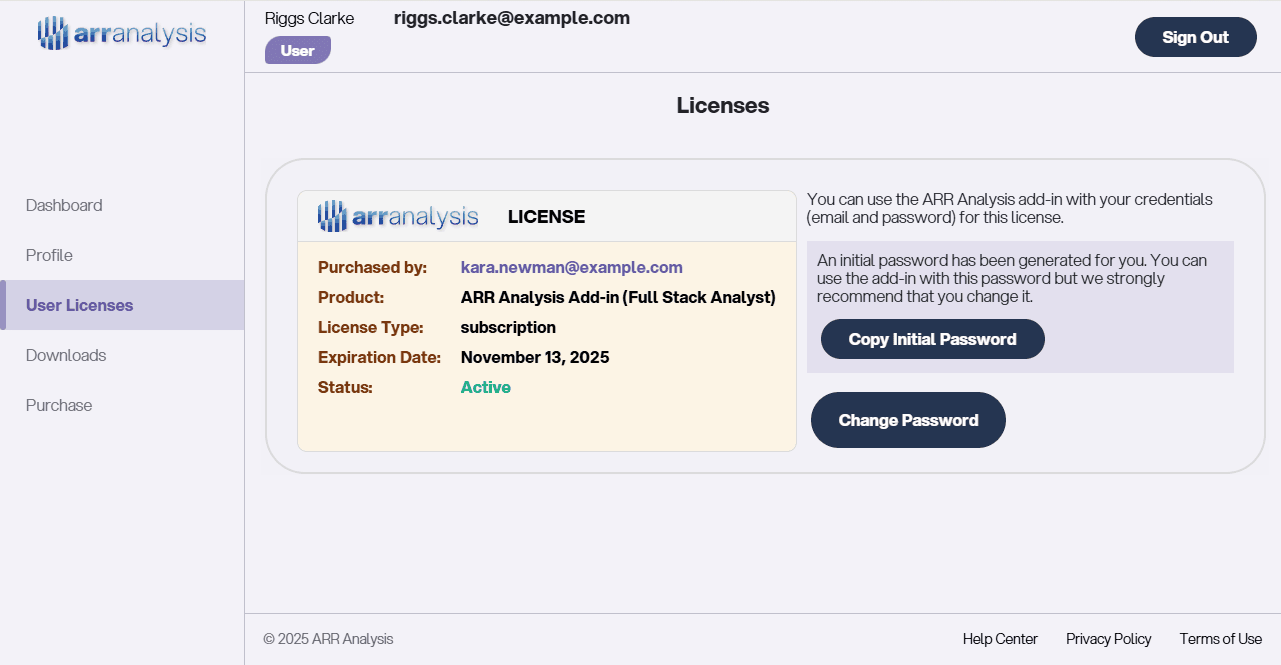
Step 2: Set or Copy Your License Password
In the Admin Console, you can view the license details. Initially, each license comes with an auto-generated password.
- You can click Copy Initial Password to copy and use it directly.
- Recommended: Click Change Password and set your own secure password instead.
You can even set it to match your Admin Console password, provided it meets the license manager’s password complexity requirements.
Step 3: Activate the Add-in
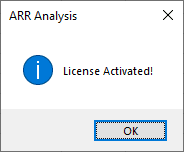
After entering your credentials in the Activate ARR Analysis dialog, click Activate.
If everything is correct, you will see a License Activated confirmation message.
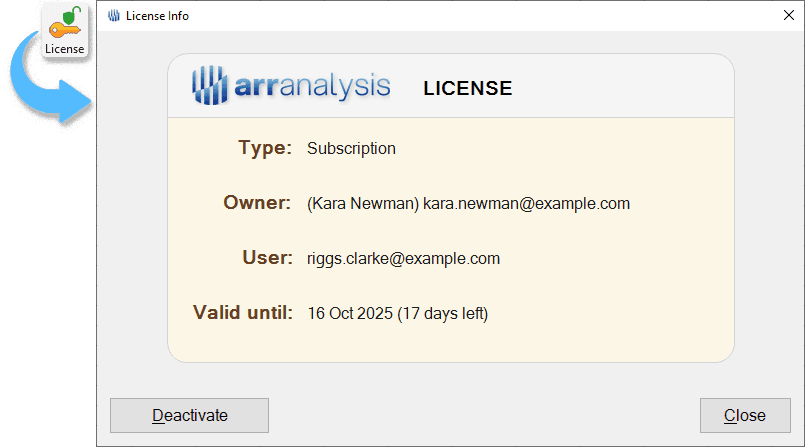
Step 4: Verify Activation
After activation:
- The License button will now show the Active icon.
- Clicking it will open the License Info dialog.
- The first group of buttons in the ribbon will become enabled.
Next Steps
Now that your ARR Analysis Excel Add-in is activated, you can start using it: