Assigning a License to Yourself
As a Customer, you have purchased one or more subscriptions. Each subscription includes one or more licenses.
Note: Subscriptions with multiple licenses are available only for Full Stack Analyst plans.
Step 1: Open the Customer Licenses Page
Go to the Customer Licenses page. The image below shows a customer with three licenses:
- One license from a SaaS Analyst subscription
- Two licenses from a Full Stack Analyst subscription

Step 2: Allow a License for Yourself
As a Customer, you control who is allowed to use each license. For the license you want to use yourself, click Allow for Self.
After doing this, you will notice the following changes:
- The User Role is now added to your account.
- The header displays both Customer and User roles.
- A new User Licenses page link appears in the navigation bar.
- The license now shows your email under Allowed Users.
- A new button, Manage License Users, appears for the license.

Step 3: View Your User Licenses
Open the User Licenses page to see all licenses that you are allowed to use.

Step 4: Assign Yourself to the License
To use the ARR Analysis Excel Add-in, click Assign Self on the desired license. After that your license will look like this:

Once assigned, you can log in to the add-in using:
- Your email
- The initial auto-generated password for the license
We strongly recommend changing the initial password for security. Click Change Password to set a new one.
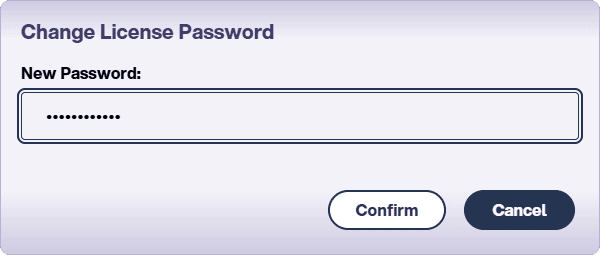
After changing the password, use your email and new password to sign in to the add-in.